Have you ever wanted to record your epic wins and glorious defeats on your PS4 system? Then you’ve come to the right place! In this blog, we’ll give you the tips and tricks on how to become a pro screen recorder for all your PS4 gaming sessions. So, let’s get started!
Introduction to Screen Recording on PS4
Screen Recording on PS4 makes it easy to capture, save and share your gaming experience with friends or streamers. With built-in tools like Share Play and Options Menu, you can create high quality videos in just a few steps. Here’s everything you need to know about Screen Recording on PS4.
Before You Begin: Before you start recording on your PS4, make sure that your system is up-to-date with the latest system software. This includes the latest version of PlayStation 4 firmware. To check your system software version, select Settings > System Software > System Information from the home screen of your console.
Screen Recording Tools: PS4 comes integrated with two main screen recording options – Share Play and Options Menu. Share Play allows for up to one hour of footage capture and streaming without stopping the game play session, while Option Menu lets you record directly from the onboarding menu for as long as necessary without losing any gameplay session data. Details about both options are outlined below:
- Share Play: Using this tool, you can easily start a session by tapping on SHARE button from the controller and then selecting Start Sharing Play > Invite Players to join game with Share Play feature. The receiver can join within one hour or less depending upon network connection speed; any footage recorded while playing doesn’t have time restrictions or limits set by Sony, so keep playing as long as you want!
- Options Menu: Selecting this option will let you record directly within the Options menu during game play whenever needed; all video clips will be saved automatically in 1080p resolution format on an external storage device such as USB drive or PS Plus cloud storage account if enabled; footage won’t be shared publicly but you have an option of uploading it later directly onto YouTube when ready!
What is a Screen Recorder?
A screen recorder is a program or an application that allows you to record your screen activity with audio. It is essentially an advanced video recording tool which can be used to capture anything that appears on the computer screen. This includes everything from software tutorials, game walkthroughs, streaming videos, and more.
Screen recorders are commonly used in the production of demonstrations, where they are used to create a visual presentation of how software works or how it should be used. This can be particularly useful when demonstrating how to use complex programs or gaming tutorials. It’s also great for creating presentations that you can share online or in person with colleagues, clients, or students.
For gamers, a screen recorder provides an easy way to create highlights of their gaming sessions for sharing online. Some recorders feature tools for “lighting up” specific elements on the screen during recording and tagging clips with different labels for future reference. Gaming streaming has become incredibly popular due to services like Twitch and YouTube Gaming and recording your own gameplay is a great way to get involved!
For PlayStation 4 users, there are many ways to capture footage from the console itself, as well as from external sources such as PCs connected via HDMI cable through a capture card like the Elgato HD60 S+. However having a screen recorder specifically designed just for PS4 can provide lots of features while recording PS4 gameplay such as:
- Controlling sound quality
- Handling real time editing
- Overlaying text
- Managing background sound when gaming
- Enable pause & restartable options during recording
- Creating timelapse videos
- Creating quality GIFs out of recorded video

Screen recorder for PlayStation 4 may provide much more essential features depending on the product such as a timelapse video creator which helps accelerating long gaming session into 1-2 video minutes representation form and quality GIF creating feature out of recorded video which makes them more sharable among other platforms.
Benefits of Screen Recording on PS4
Screen recording on PlayStation 4 (PS4) offers gamers numerous advantages, such as producing tutorials and saving gameplay walkthroughs to share with other users. It gives players control over how they want to show off their playing skills and provides an easier way to share gaming moments with the world.
Screen recording allows gamers to have a greater sense of creativity and agency in how they present their gaming experience. This type of feature is especially useful for those who are looking to produce game content for YouTube or Twitch, allowing them to capture their briefest of plays in more informative videos. It also encourages users to rewatch their best plays, which can give them additional inspiration when competing against others.
Furthermore, screen recording is a great tool for creating walkthroughs or tutorials that help new players navigate complex games with ease. These recordings can be directly uploaded onto social media platforms such as Facebook or Twitter, making it easier than ever before for users to show off the tips and tricks they’ve learned while playing the game!
For anyone looking to upload “Let’s Play” videos with commentary or simply record their playthroughs, screen recording is an invaluable tool on PS4 consoles that enables users maximum control over how they are able show off their gaming prowess.
Preparing to Record on PS4
Before you use your Sony PlayStation 4 (PS4) for screen recording, there are a few preparatory steps you should take. To ensure your recordings look and sound their best, follow these tips:
- Check your PS4 settings. Go to Settings > Sharing and Broadcasts > Video Clip Settings and make sure the options that are selected will give you the best recording experience.
- Check the audio settings on both the connected headset and PS4. Make sure that you have the correct input/output device for each one and that all settings are properly configured to record both game audio and chat audio during your gaming sessions.
- Set up your streaming service of choice on PS4, such as Twitch or YouTube Gaming. This will help you manage your stream, find game clips to share with viewers, and track comments made by viewers regarding your gameplay videos.
- Disable push notifications on PS4 if they are distracting during gameplay or recording sessions – To do this, go to Notifications in Settingsand deselect “Enable Notifications” under Narrow By Game Topic Settings.
Once you have completed these preliminary steps, you should be ready to start screen recording with your PS4! Be sure to check out additional tutorials online and from PlayStation Support if needed – happy streaming!
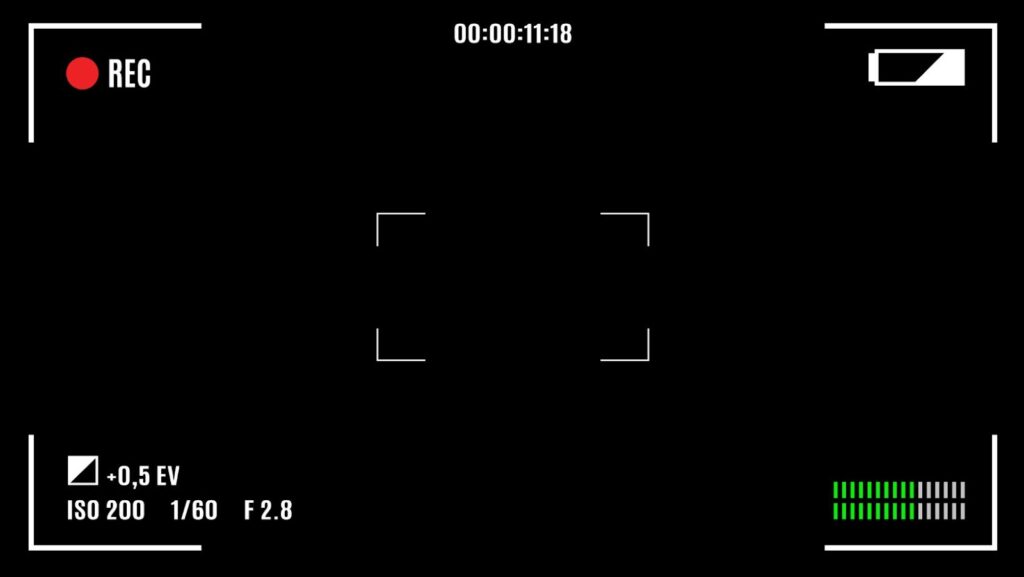
How to Screen Record on PS4
Screen recording on the PS4 is easy and provides powerful, multimedia-editing capabilities that can help create a better gaming experience. Recordings can be used to capture gaming highlights or capture gameplay to share with friends. No matter the reason for recording on your PS4, this article will explain step by step how to do it.
First, take a look at the Quick Settings menu on your PS4 dashboard. Scroll down until you reach “Share” and select it. This will open up the sharing options for your account including Capture Gallery and Sharefactory. Go ahead and choose Capture Gallery, which is where you can view all recorded clips from your particular account.
Select “Create a Video Clip” – this will start the screen recording process directly from the dashboard of your PS4 console. You are able to manually set parameters such as duration and audio recording before pressing record by selecting advanced settings if this suits your needs better than auto recording or immediate record. After starting the screen recording process you are able to do one of two things: wait until you reach a spot in game where you feel comfortable stopping record or hit stop manually after reaching an appropriate spot in game.
After hitting stop, you have finished capturing video through screen recorder to share with other gamers or edit further in Sharefactory editing suite included with consoles ability set up online user profiles. Now that we have recorded a clip from our desired gameplay footage, let’s check out some more advanced options available within Capture gallery which allows us not only save but manage our video clips for later use!
Tips and Tricks for Screen Recording on PS4
Screen recording on PS4 is not only an easy and efficient way to capture gameplay, but it also opens up various opportunities for gamers to share their experiences with others. Whether you want to keep a video record of your game skills, or simply post a step-by-step tutorial of your favourite game, recording and sharing your PlayStation 4 gameplay has never been easier.
Here are some tips and tricks to help you get the best out of screen recording on PS4:
- Setup Your Recording Space: Before you start recording, it’s important that you have the right environment set up. Aim to eliminate as much background noise as possible by placing your microphone in a quiet space and make sure the area around your camera is well lit so it’s easy to see in the captured footage.
- Frame Your Shot: Centre yourself in shot when recording – this makes for much more pleasant visuals for viewers when they play back the footage. It is also a good idea to use headphones if possible so there is no interference from outside sounds in the video clip.
- Select High Quality Settings: Make sure you select as high quality settings as possible when capturing game footage on PS4 – do this by accessing Settings > Gameplay > Video Capture Quality from the main menu bar. For example, if auto-generated videos are enabled for two minutes – change this setting to upwards of five minutes for higher quality recordings if desired.
- Enable Microphone Input: Besides controlling audio levels in terms of volume, learners should also adjust their microphone sensitivity settings in control panel via Settings > Devices > Audio Devices > Microphone Level – this will ensure voices are picked up by microphones properly during recordings while ensuring unwanted background noise doesn’t creep its way into audio files unnecessarily.
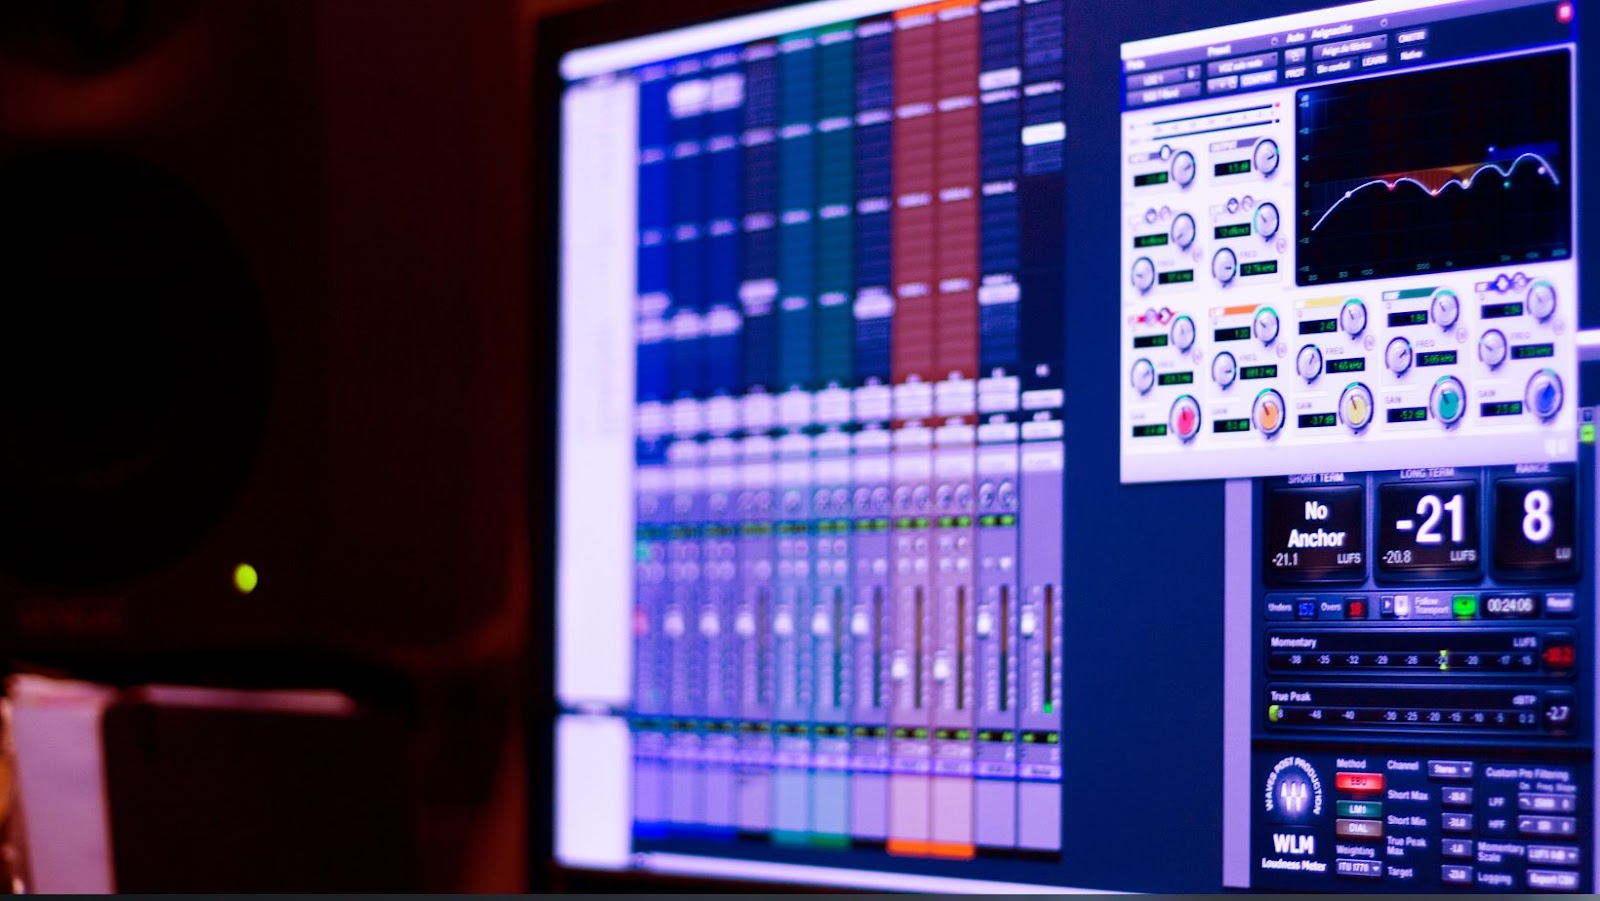
- Edit Your Recordings: If desired, producers can enhance their recordings further with editing software like Adobe Premiere Pro or Final Cut Pro X (or even built edit tools). These allow users to refine clips even further by adding special effects and titles on top of different video/audio layers before uploading them online!
Screen recording on the PS4 is easy and convenient. To get started, all you need to do is press the SHARE button on your controller to activate the Share menu. From there, you can select the Record Screen & Audio option to begin your recording. When you are finished, use the save icon in the Share menu to save your file onto a USB drive. If you want to post your video clips or screenshots online, you can also choose Upload Video Clip to upload them directly from your PS4.
With the built-in screen recording feature on PlayStation 4, capturing and editing video games has never been simpler! The only thing left for you to do is get creative and start making amazing videos of all of your favorite games!
More Stories
FutureTechGirls: How Gaming Rocks The Path To Tech Leadership In 2026
Gaming Rocks: How FutureTechGirls Are Shaping The Next Decade Of Play (2026 Roadmap)
Gaming Rock: How FutureTechGirls Are Shaping Tomorrow’s Play In 2026