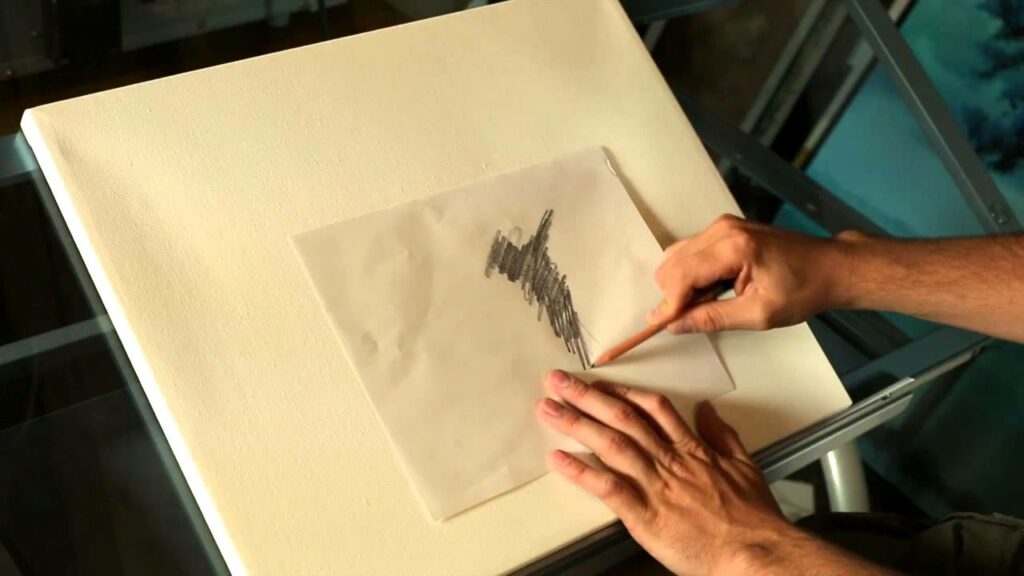
How to draw in canva
Drawing in Canva is a great way to create graphics for your website or social media pages. You don’t need to be an experienced artist to do it either. With the right tips and techniques, anyone can learn how to draw in Canva.
In this section, we’ll go over some basics to get you started:
- Getting familiar with the Canva interface
- Understanding the different drawing tools
- Choosing the right colors and fonts
- Creating shapes and designs
- Drawing with vectors
Sign up for a Canva account
Creating an account with Canva is the first step to get to grips with the drawing feature. It’s not only free, but it also gives users access to a range of features and resources.
Signing up for Canva only takes a few minutes. All you need is a valid email address, the name of your business or organization (if applicable), and your password. After that, you’ll be able to access all of the features within CanvaDraw Web in no time. Those with G Suite accounts can even use their existing credentials when signing up for CanvaDraw Web.
Once you have signed up, you will have direct access to millions of awesome templates and illustrations created by expert graphic designers that can help make your drawings amazing! You can also take advantage of advanced editing tools like crop, blur, multi-select, mirror tool and more which can help customize your artworks even further.
The best thing about CanvaDraw is that it’s fully integrated into the larger suite of tools available on Canva Pro–the premium-level program that provides designers with additional resources and features needed to level up works while keeping creativity at full speed!
Learn the basics of Canva’s user interface
Canva is an incredibly powerful tool, but it can be a bit overwhelming at first. To get the most out of this design platform, it’s important to understand how its user interface works.
The first step is to familiarize yourself with the two main parts of the Canva interface:
- The Dashboard: This is your launchpad into Canva — a one-stop shop for all of your design needs. Here you’ll find templates, design elements and fonts that you can use to create your own designs from scratch or use as starting points for custom projects.
- The Canvas: This is where most of the work happens on Canva — this is where you can arrange and manipulate all of the design elements on a blank canvas or within existing templates. Here you’ll be able to adjust size and shape, add text and change colors. You can also switch between editing modes such as drawing freehand lines, shapes or grids.
Taking the time to learn how Canva works will help you become more efficient in creating projects with its user interface and tools so that everything looks polished and professional in no time!
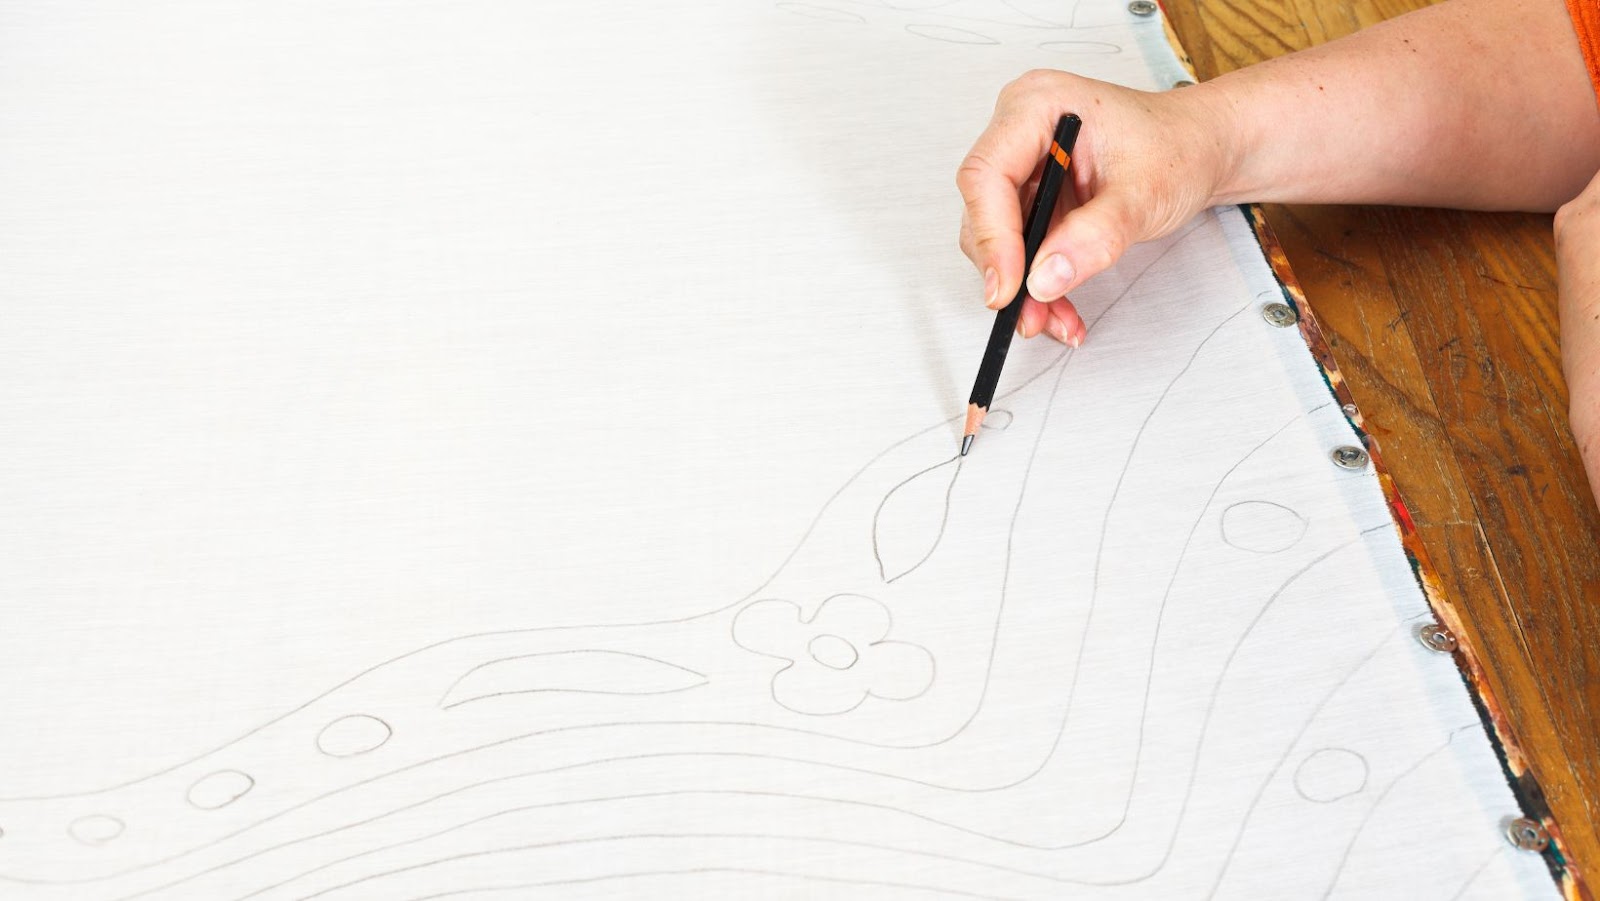
Drawing Tools
Canva is a popular graphic design software that allows you to create beautiful designs quickly and easily. But it can also be used for drawing! Canva offers several tools that you can use to draw and illustrate. Let’s take a look at the different tools Canva has to offer and how you can use them to create stunning art.
- Tool 1
- Tool 2
- Tool 3
Learn how to use the shape, line, and pencil tools
The shape, line and pencil tools in Canva’s drawing feature provide novice and expert illustrators an easy way to draw a variety of things. Here’s an overview of how these tools work and the various ways you can use them.
- Shape Tool
This versatile tool gives you the ability to draw with precision. Select the shape tool, choose your desired shape (circle, triangle, rectangle) and manipulate it to create visually attractive forms! There are also other shapes that can be created such as arrows or plus signs. Adjust the size, rotate the image and apply color variations to create fun shapes quickly. - Line Tool
Create straight or curved lines that are perfect for drawing or sketching within minutes! This is a powerful yet simple tool that allows you to quickly draw complex illustrations with ease. Try experimenting with different widths and colors to add more definition or depth to your artwork. - Pencil Tool
Have a lot of creative freedom when you use the pencil tool! Create art in any style – pencil sketches, digital drawings, Lissajous curves – anything is possible with this ultra-versatile feature. Control line width by adjusting pressure on your stylus pen or using added modifiers including erasing tools and custom brushes for an infinite range of possibilities!
Understand how to use the brush and eraser tools
When drawing with Canva, the brush and eraser tools provide flexibility to update artwork and fine-tune line drawings. Both tools can easily be found in the main menu, where they are accessed like any other shape available within Canva.
The brush tool allows users to draw free-form strokes on any part of the canvas. It is activated by selecting it from the tool menu where you can then customise its colour and thickness. Users can also adjust the alpha setting to make their brush strokes semi-transparent if desired. To ensure a smooth line, use a light touch on your cursor when creating hand-drawn art.
The eraser tool is used for editing within Canva’s drawing experience and works similarly to that of a traditional eraser—except it does not permanently delete existing work as work done in Canva does not save until it’s formally published from the editor. All edits can be undone, so long as you remain in the editor window after making them—therefore accidental deletions or colour changes needn’t be something to worry about when utilizing this feature! To edit areas of your artwork with precision, use a light touch on your cursor when using an eraser.
Practice using the eyedropper tool
The Eyedropper Tool allows you to quickly select a color and use it to draw your image. You can select any color on the canvas, then click and drag the eyedropper to carry the color across your design.
Practice using the Eyedropper Tool to get a feel for its familiarity and flexibility. To practice, follow these steps:
- Click the Eyedropper icon in the bottom left hand corner of Canva’s toolbar
- Select any background or drawn element on your canvas that you would like to copy the color from
- Move your cursor anywhere else on Canva’s workspace and click again with the eyedropper selected
- A swatch should appear with the copied color, so you can use it for other elements of your design
- To practice further, try experimenting by applying different colors to different elements or backgrounds on your canvas as you go along
By practicing with this tool you’ll be able to quickly and easily draw images by selecting colors from across your design!
Color and Text
When creating artwork in Canva, color and text can be combined to create visual impact. You can also use color to highlight specific elements or to create contrast. Knowing how to use text and color can make your designs look more professional and eye-catching.
In this article, we will discuss how to choose the right colors and text to create stunning designs:
- Choose colors that complement each other.
- Consider using contrasting colors to draw attention to certain elements.
- Think about the type of text you want to use.
- Ensure that the text is readable and visible.
- Choose a font that reflects your brand.
- Add white space between the text and other elements.
- Experiment with different font sizes to create hierarchy.
Explore Canva’s color palette
Canva’s color palette offers a diverse array of shades and hues to choose from. With thousands of options, you can use Canva’s selection to select any color or create your own ideal shades. The range allows you to customize your art – ensuring that it reflects your personality and vision.
You can find the color palette in Canva’s interface toolbar with an eyedropper icon. To explore, simply click the icon, select choose a color, then pick one from the different options inside the drop-down menu. From there you can adjust brightness, saturation and hue levels — creating the perfect shade for whatever project you’re working on. You can even save unique colors for later use or mix two colors together for a unique gradient effect.
Another element of Canva’s color palette is textured typography. This feature uses textured fonts along with coloring to enhance type as part of your design product. Examples include watercolor styles, marbling effects and painterly textures which combines fonts with striking backgrounds using blend modes to achieve unexpected results that bring your work to life! Textures allow designers to make their work look more authentic by adopting various traditional print methods such as letterpress printing into digital designs without endangering needles or compromising quality print effects!
Use the text tool to add titles and captions
The Text Tool in Canva Drawing allows you to add titles and captions over your canvas or image, making the illustration more expressive. You can use the text tool for various purposes such as creating visuals for webpages, presentations and social media graphics.
You can customize your text by styling it with bold, italics and underlined font formats as well as a range of colors. You can also adjust font size, typeface, line wrapping and horizontal alignment in order to fit the purpose of your creation. To spice up your project further, click on the drop-down menu for ‘fill color’ to add some highlights or for ‘ stroke color’ to create an outline around your text header or caption.
- Manually reposition the text by dragging it with a mouse cursor
- Create drop shadows behind it
- Each element is stackable so that you can overlap different layers together
- Hit the ‘reload’ button located at the top-right corner of the tool bar to reset all previously made changes to their default settings
Adjust the font size, style, and color
Making adjustments to your font’s size, style, and color is essential to designing a powerful document, graphic design project, or logo. Depending on where you are working (Canva beta editor, Canva Print Editor), you may have more choices at hand compared to other platforms. For example, in the new Canva beta editor, text object options are found in the middle left side of your layout panel and give you full control over font types (Mono/Sans Serif/Serif), size and color.
Size
The size cursor allows you to easily increase or decrease the font size of any element that has been added to your design. You must be sure that it looks visually appealing when zooming out from any element. It is also important to consider screen sizes for digital media; if an advertisement is too small for a standard computer monitor, then it will require immediate scaling before publication.
Style
Text style refers mainly to whether your font should be mono-space or serif/sans-serif like Times New Roman/Arial/Calibri. Choice of font also comes down to personal preference and how its used — serif fonts make paragraphed content easier on the eyes while displaying longer body text compared to sanserif fonts being better distinguishable in headlines and short body texts ; mono-spaced fonts create a decorative tone making it suitable for parties and events lists but not legible when used as longer form text due primarily related issues such as readability spacing problems but tied closely with user interaction with design mediums (digital vs print).
Color
Color choice can contribute greatly to how well readers perceive your design — warm colors can affect mood positivily while cool colors connote trust & professionalism ; these choicess however are still very subjective as different audiences prefer different tones so its really up tot he designer or author utilizing Canva’s easy Color Picker feature which gives accesses multi varieties through rgb & hex codes connected with popular paint brands like Benjamin Moore & Sherwin Williams.
Advanced Techniques
For those ready to take their Canva drawing skills to the next level, this guide is for you. There are some advanced techniques you can use to create professional-level graphics. In this section, we’ll discuss all kinds of tips and tricks to help you become a Canva drawing pro. Let’s get started.
- Advanced techniques to create professional-level graphics
- Tips and tricks to become a Canva drawing pro
Learn how to use layers
The use of layers in Canva can help you create amazing drawings in no time. By using different layers and controlling the order of those layers, complex shape combinations can be created quickly and easily. This is a great way for even beginning Canva artists to produce intricate pieces that look professionally made.
When using layers, the top layer is always the one that gets highest priority. Any elements added after that will appear beneath those previous elements, with the newest element still on top. To make this concept clearer, consider how a sandwich is built: The first slice of bread acts as the background layer while all other elements are added on top until the final slice of bread goes on last. Each new addition appears underneath what came before it, yet still remains visible and accessible when you view or manipulate it.
When working with multiple layers in Canva, it is important to consider how they each interact with each other – especially if you’re combining shapes, objects or textures that could overlap and become difficult to separate or rearrange later. You can control which shapes appear on which levels by:
- Clicking and dragging them up or down through your design workspace
- Placing them at your desired level within the “stack” of elements
Layering also helps ensure details aren’t lost when colours from one part get covered up by another. Working with layers makes creating professional visuals easier than ever!
Understand how to use the grid and alignment tools
One of the most important tools included in Canva is the alignment and grid tools. Aligning your design elements gives your work a more professional look and ensures accuracy when you are designing with objects of different sizes.
The key components of the Canva grid system are:
- Gridlines: These can be used to guide object placement. Gridlines are helpful for arranging shapes, adding text boxes, and inserting images. They come in both vertical and horizontal lines to create a network of invisible guides throughout the entire Canva project.
- Alignment Guides: The alignment guide helps quickly position two or more design elements in line with each other horizontally or vertically.
- Space Distribution tool: This feature spreads out all selected design elements equally as you drag them across your canvas one by one.
- Smart Resize Tool: The Smart Resize Tool offers an easy way to make sure all objects conform to predetermined sizes, allowing a consistent appearance across multiple platforms. It can also group selected items together so they can be moved as a unit across many boards throughout your project.
Using these tools makes it easy to structure your work consistently and accurately while making sure everything looks great upon completion of the illustration or layout job!
Practice using the transformation and rotation tools
The transformation and rotation tools in Canva allow for a variety of ways to edit and enhance your drawing. The most basic transformations are scale, rotate, skew and flip. You can also transform your drawing by moving specific elements within the canvas.
Practice using the transformation and rotation tools to make the following changes:
- Scale: Make an element larger or smaller within the canvas
- Rotate: Turn an element a certain degree of angle
- Skew: Deform an element horizontally or vertically
- Flip: Flip an element across two axes
- Move Imported Graphics: Reposition imported graphics anywhere within the canvas
Once you become familiar with each of these transformations, you’ll be able to create more dynamic visual compositions with your drawings! Drawing in Canva gives you the freedom to experiment with various effects like proportional scaling and multi-angled rotation. The manipulation options are endless when it comes to creating beautiful artwork — have fun practicing!
Exporting Your Work
Exporting your work in Canva is a great way to share your design with others or save it for later. Canva offers a variety of export options, allowing you to save your work in the best format for each use case. In this section, we’ll discuss the different exporting options available in Canva, and how to use them to get the most out of your designs.
- Export as an image
- Export as a PDF
- Export as a design
- Export as a presentation
- Understand the different exporting options available in Canva.
- Choose the best export option for the use case.
- Use the export option to get the most out of your designs.
Export your work as a JPG, PNG, or PDF
Using Canva to create your artwork is easy and convenient, but how do you share it with the world? Fortunately, Canva pdf to jpg makes exporting your work to different files as easy as downloading and saving it on your computer.
The most popular file types for sharing visuals across the internet are JPEGs, PNGs and PDFs. Each file type serves its purpose at different times and will be suitable for different types of content.
- JPGs or JPEGs (Joint Photographic Experts Group) are best used for images or graphics that need to load quickly over the internet. They are small in size and appeal to people who want visuals that look great with mininal load times. JPGs also support a wide range of colors, making them a popular choice for most digital photography projects where vibrant colours are important.
- PNG files (Portable Network Graphics) have better quality than JPG files, but they take up more disk space so they’re not ideal for use on web pages due to load time considerations. PNG formats can be used in projects where file size isn’t an issue such as shared documents or high-quality image prints.
- When you need to retain settings such as text fonts and image placement, instead of using a JPG or PNG format, consider saving your work as a PDF (Portable Document Format). PDF files can encapsulate all settings associated with a project so customers obtaining their graphics from you can view them unchanged from their original state. Additionally, when using Canva Print’s “Download As …” option in any format other than PDF will result in losing much needed information related to hundreds of possible design combinations specific to print products you order from us.
Share your work on social media platforms
Exporting your work to share on social media is a great way to show off your designs and increase your reach across all of your social channels, so here’s how you can do it:
- First, click the Share button in the top right-hand corner of Canvas’s main workspace.
- From there, select the format you want to use for sharing. Canvas supports most popular file formats such as .jpg and .png, as well as others like .pdf and .svg.
- Then choose which platforms you want to share on. Canva supports connections to most social networks such as Instagram, Twitter, Facebook and more.
- You’ll also be provided with a direct link or embed code so that you can further share the drawing via website or email. You may even be able to copy a unique URL depending on where you’re sharing it too!
- Once you’ve completed these steps, click the button at the bottom and start promoting!
Download your work for printing
Printing your artwork can be made easier with a few simple steps. Printing your work from Canva allows you to create beautiful prints of your project on any material that can be treated with ink. Whether it’s paper, fabric, walls or canvas — Canva has you covered!
To download your work for printing, first click on the ‘Download’ button in the top right corner of the editor. Select whether you’d like to export as a JPG, PNG or PDF file. When you’re selecting the export size make sure that it is at least 300 dpi (dots per inch). This will ensure that the resolution of your graphic remains sharp when printed.
Before downloading click on ‘More Options’ in order to customize the way your text appears on the printout. Underneath ‘Outline Text’ make sure to select yes so that all fonts are outlined when printing – ensuring no typos or missing characters show up from incorrect font files being read incorrectly by a printer or design program afterwards. Additionally select whether or not you’d like crop marks to be added for easier trimming once printed if needed.
Once happy with these settings and after clicking ‘Print Download Now!” make sure to save the correctly sized version somewhere safe and easy accessible for further use if needed!
More Stories
FutureTechGirls.com: 7 Kickass Tips To Level Up Your Tech Career In 2026
FutureTechGirls: 7 Kickass Tips To Launch Your Tech Journey In 2026
Kickass Tips For FutureTechGirls: Launch Your Tech Journey In 2026