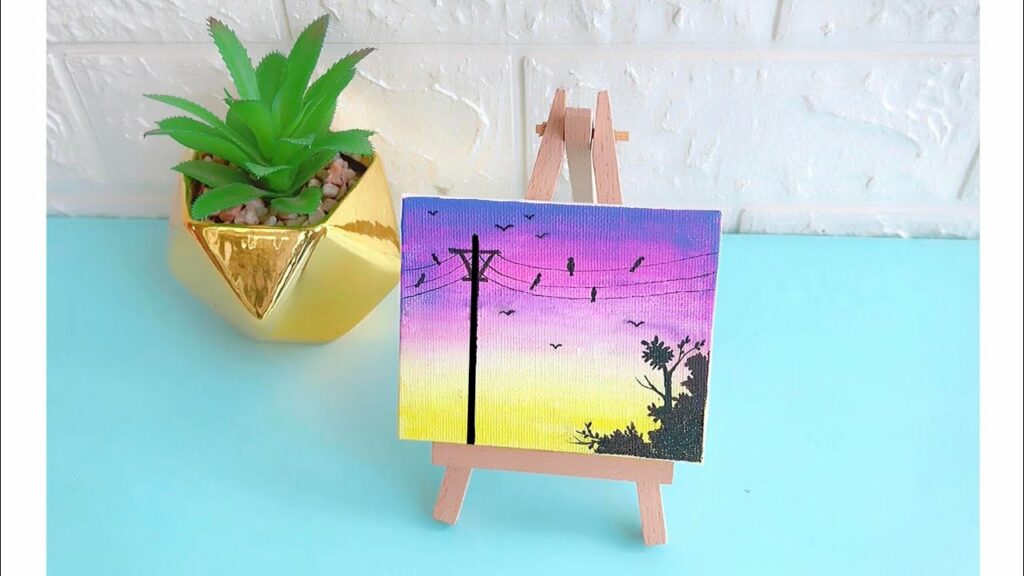
How to draw on canva
Canva is a great tool to help you create stunning visuals with ease. With Canva’s user-friendly interface and vast library of templates and layouts, you can create professional-looking visuals with minimal effort. Whether you’re a beginner or a seasoned designer, these Canva drawing tips will help you get the most out of your Canva experience.
Sign up for a Canva account
Creating an account on Canva is your first step towards designing and creating graphics for your projects. Signing up is free and takes only a few minutes.
Once you’ve created an account, you can either start with a blank canvas or select from one of the many templates available. From there, you’ll have access to over 8 million stock photos, illustrations, and graphic elements so you have everything at your fingertips to put together engaging designs.
You can also save time by making use of Canva’s drag-and-drop capabilities and quick action buttons, like the ones that allow you to duplicate elements or delete multiple object at once.
Canva also has a powerful collaboration feature that makes it easy for team members to work together on the same design at the same time! You can easily invite other users and give feedback through comments or annotations, as well as see any changes made in real-time.
Getting started with a Canva account is not only fast but also easy — just sign up and make use of all its features to create stunning graphics quickly and easily!
Set up your Canva workspace
Before drawing in Canva, it’s important to familiarize yourself with the user interface. To create a canvas, open the Canva workspace by selecting File > New Canvas. When you open this, you’ll be presented with a blank canvas that includes grid overlays and useful guidance features.
There are several tools available which you can use to set up your workspace and get started with your drawing quickly:
-Set page size: Use the editing options on the right side of your window to change the size of your canvas – standard size works well for most projects but you can also choose custom sizes for larger projects.
-Grid supports: It can be helpful to turn on grids (File > Workspace > Show Grid) in order to line up objects or create perfect shapes. You can adjust the appearance of grids by changing their color or spacing.
-Object alignment: To ensure objects are perfectly aligned, click and drag one object onto another until they “snap” into place — this will align them both automatically!
-Organize layers & properties: Click and drag layers and shapes within the canvas area or within other layers in order to organize them according to type or arrangement preference, or use Adobe Properties settings (top right corner) to change settings such as background color, opacity, blur effects etc..
Drawing Tools
Drawing on Canva is easy and fun with their range of drawing tools. Canva offers a variety of tools including freehand drawing, lines, shapes, and more. With these tools, you can create a variety of designs in Canva. For those looking to bring their digital creations to life, consider using booklet printing to turn your Canva designs into polished, professional materials. Let’s take a closer look at the different drawing tools offered by Canva and how you can use them to create fantastic drawings.
Understand the different drawing tools
Using Canva’s drawing tools, you can create anything from simple graphic elements to complex illustrations. Make the most of these features by understanding the types of drawing tools available. Here’s a comprehensive guide to help you get started:
Shape tool
The shape tool is a fast and easy way to draw basic shapes such as lines, squares, rectangles, circles, ovals and arcs. You can also use it to draw polygons, stars and starbursts. To access the shape tool, go to the toolbar at the top of your canvas. Then hover over the shape icon and choose which type of shape you want to draw.
Pen Tool
The pen tool allows you to create smooth curves and precise lines without having to worry about manually connecting one point with another. To use this feature, select “Pen” from the toolbar at the top of your canvas. Then click and drag on your canvas to create curved lines that follow your movements.
Eraser Tool
The eraser tool erases all types of vector shapes with ease – just like its physical counterpart does! To activate this feature in Canva, select “Eraser” from the toolbar at the top of your canvas. Then start slimming down or removing vector shapes from your illustration as needed!
Brush Tool
With this feature, you can quickly draw organic or hand-drawn lines that give off a unique feel compared to those created with vector shapes! To access it from Canva’s main window, click “Brush” in the top bar then start creating intriguing designs for your project!
Fill Tool
Last but not least is Canva’s fill tool – this one helps make sure every element created in Canva is vivid and colorful even after printing out printing projects! Select “Fill” at top left-hand corner then choose any solid color or linear gradient so you can easily add an interesting background effect onto any project quickly!
Learn how to use the pen and shape tools
The pen tool is a versatile drawing tool in Canva that allows you to create lines, shapes, and curves. It’s great for creating complex designs such as logos or illustrations. You can also use it to create free-form works of art or even write text and messages! To use the pen tool, click and drag on the canvas to start creating straight lines. To draw curves, click once and hold down the mouse button to draw a curve.
The shape tool is another important feature in Canva that enables you to quickly create various shapes like squares and circles. You can choose from different styles of shapes such as arrows, stars, hexagons, arcs, and more. The shape tool is especially useful for drawing diagrammatic images or designs with a lot of structure.
Both the pen and shape tools have settings that let you customize their look with stroke styles and fill colors. Make sure you explore all of these settings to get the most out of your drawings!
Learn how to use the text and brush tools
Canva’s drawing tools are extremely versatile, allowing you to create digital art in a variety of styles. Here is a guide to help you learn how to use Canva’s text and brush tools.
Text Tools:
Canva’s text tools allow users to add text to their designs. You can choose from a variety of font options including script fonts, serif fonts, and sans-serif fonts as well as assign different sizes and colors. You can also adjust the line spacing, character spacing, and text alignment. To give your design an extra layer of customization, you can add shadows, outlines, or even rotate the text before inserting it into your design!
Brush Tools:
The brush tool in Canva allows users to add brush strokes with various widths, shapes and colors directly onto canvases with custom angles and angles. The brush tool also offers various blending modes and textures allowing for further stylization of your designs. You can also utilize the erase tool that comes with the brush tool to refine imperfections in your drawn elements or selectively erase portions of existing elements within your designs.
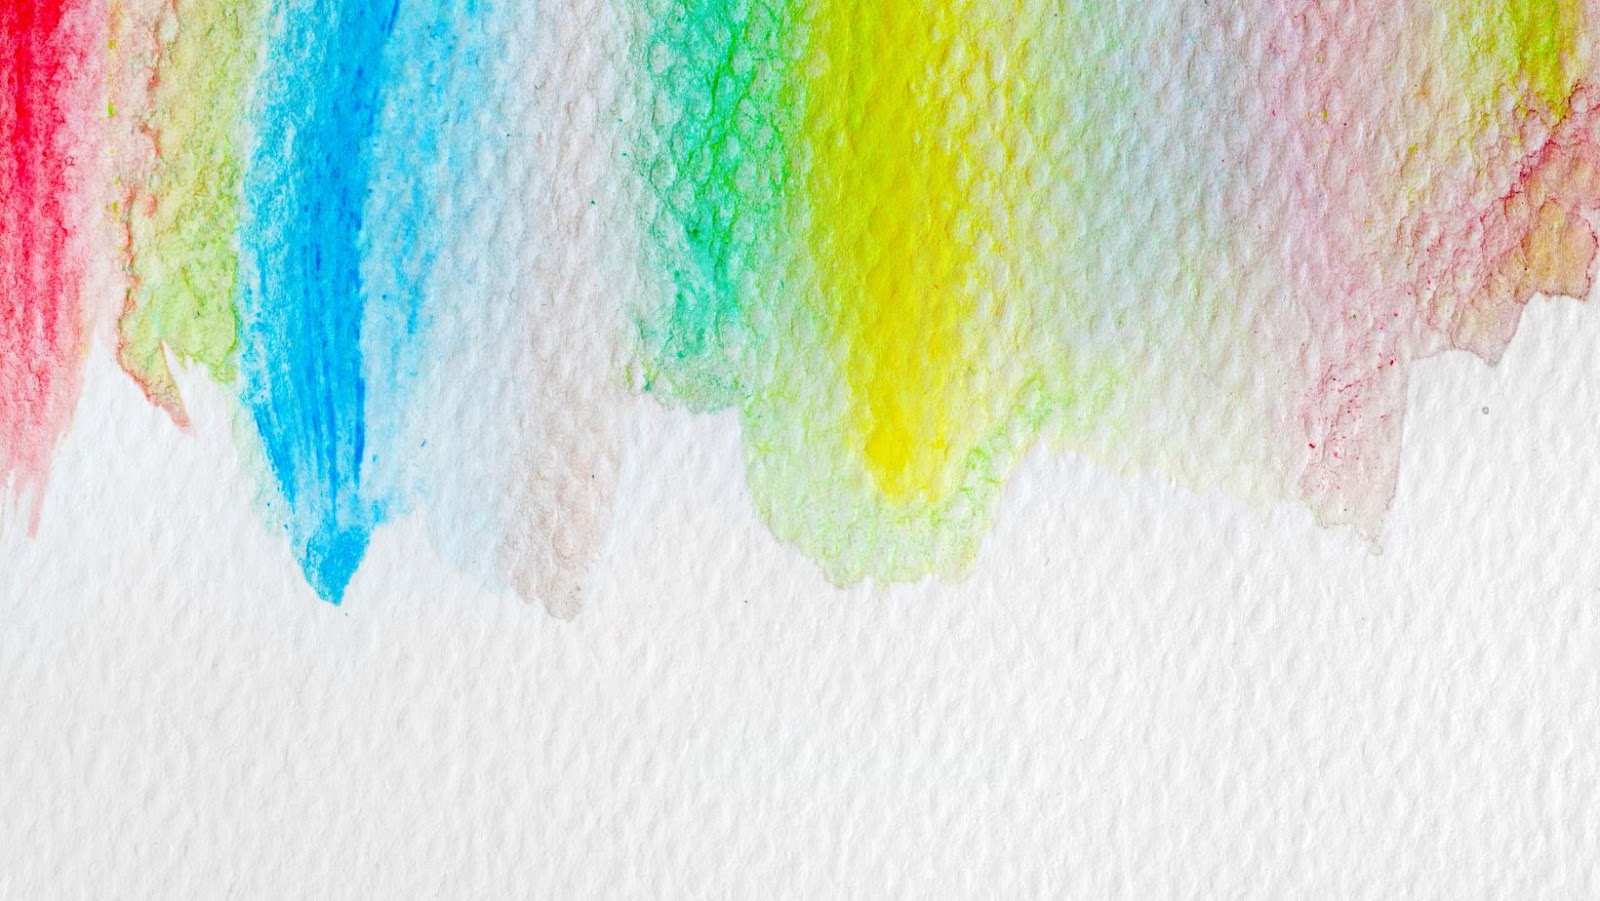
Color and Effects
When creating digital art with Canva, one of the key things to consider is how to use color and effects to enhance your work. From the backgrounds and textures of your drawings to the color palette, each aspect of the design is important. Here, we’ll explore how to create eye-catching visuals with color and effects in Canva.
Understand the color wheel
The color wheel is an essential tool for any creative. It helps you understand how different colors work together, and it can be a great guide when you’re creating your design.
The color wheel is made up of 12 sections, each with its own unique hue. In its simplest form, the wheel is divided into primary, secondary, and tertiary sections — but it also contains cool and warm hues that create cool/warm contrasts. You should take time to learn these basic elements before diving into the more complex aspects of the wheel.
Primary colors are red, blue, and yellow. They are fundamental to any color scheme because they cannot be made from combining any other colors together. Secondary hues are orange, green, and purple — they can be obtained by combining two primary colors in equal parts. Tertiary colors are derived by mixing a primary color with a secondary one in varying degrees of proportion— these include yellow-orange (citrine), red-orange (vermilion), red-purple (magenta), blue-purple (violet), blue-green turquoise) and finally yellow-green chartreuse).
The wheel also considers a concept known as complementary colors — this means that two opposite hues from the wheel look most striking when used together in contrast). To understand this concept better there are warm/cool contrast pairs such as yellow/purple or green/red — these create harmony in compositions because their effects counterbalance each other’s intensity due to their main characteristics being different from each other
Use color to create contrast and depth
Color is an essential part of any design, and it’s important to choose colors that not only look good but also serve a purpose. Colors can instantly captivate the viewer, creating contrast and texture and making a page stand out. By using colors that complement each other, designers are able to create depth, creating an overall atmosphere or message in their work.
When selecting colors for your project, start by using color wheels to find complementary colors. Essentially, this will be colors on opposite sides of the wheel; these colors appear harmonious in the same image as they create contrast without looking mismatched. You can even find analogous colors on the wheel – colors next to each other – which do a nice job of creating a gentle transition between shades if need be.
It’s also important to consider color meanings when choosing what goes into your project design. For example, red often symbolizes energy or passion; blue might evoke feelings of peace or serenity; yellows may symbolize cheerfulness and optimism; greens often bring stability combined with growth to mind. Different hues within each color can have different effects too — for instance blues range from light sky blue (calm) to navy (authority). All these nuances should be taken into consideration when selecting base colors as well as accent hues for your project design elements.
Using careful consideration of color combinations and meaning will help you take your designs up a notch and make sure they pack that powerful visual punch that is integral in attracting viewers’ attention while conveying desired messages through meaningful cues.
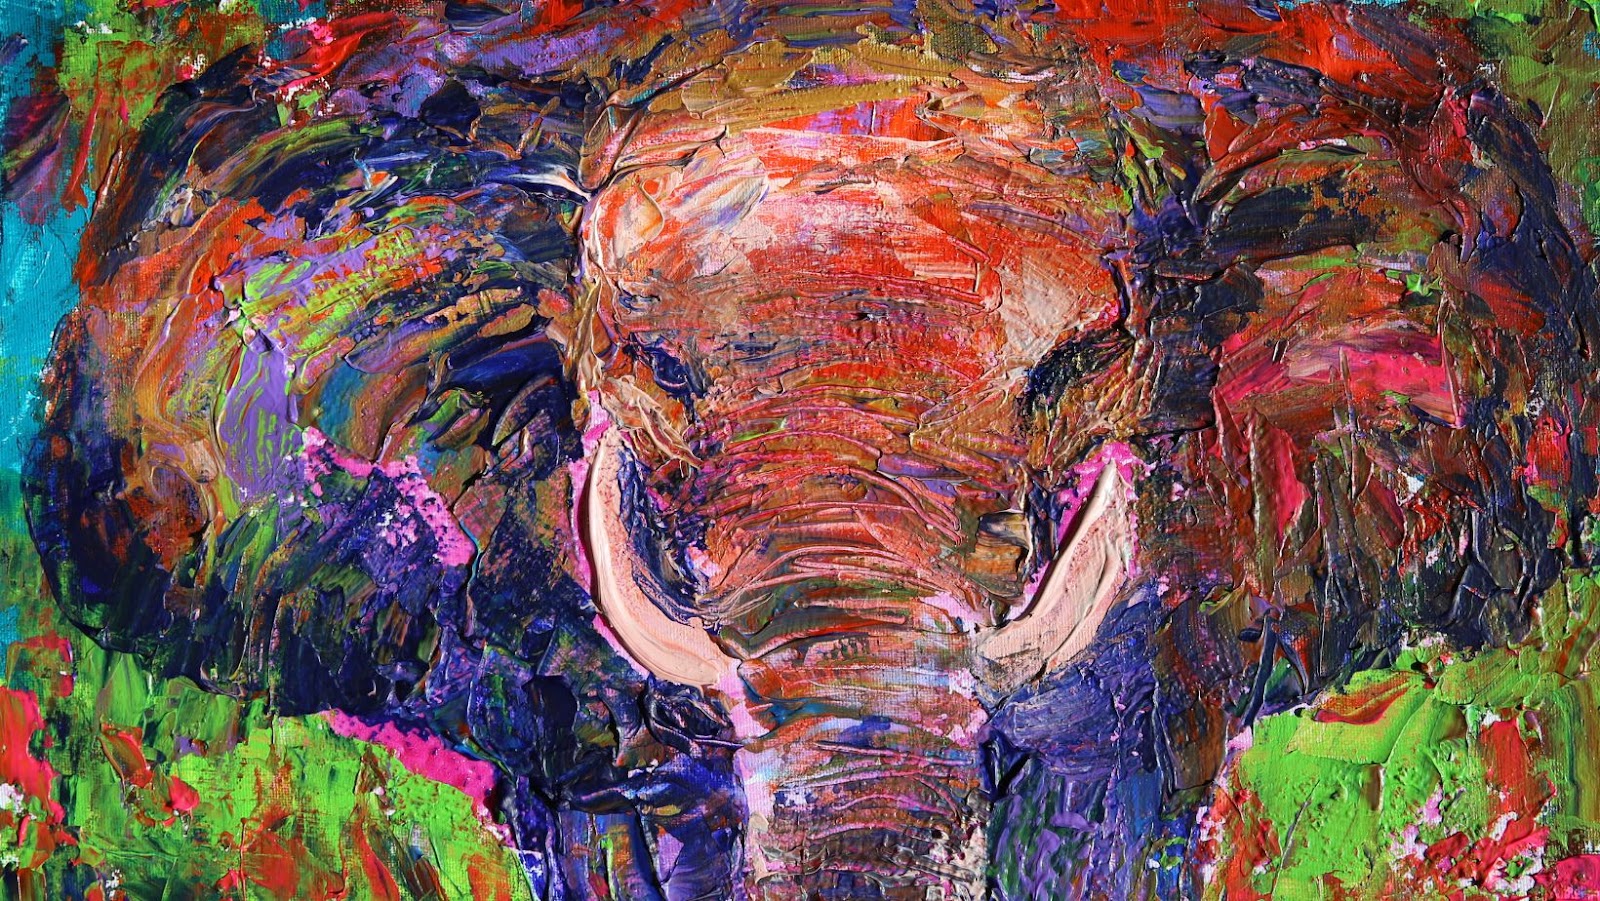
Experiment with different effects
When creating a painting, it is important to consider the effects and uses of different colors. Experimenting with different combinations can open up an entire world of artistic possibilities.
Different colors can be used for a variety of effects, ranging from subtle to dramatic. By combining colors, you can create new shades that have more vibrancy and interesting textures. Colors can also be juxtaposed to create tension and harmony in your artwork.
It’s important to explore all the ways that you can use color in your painting, as it allows you to express your vision with greater depth and emotion. Different techniques such as hatching or cross-hatching are often employed to build layers of color, while the bold use of heavy brushwork or dripping paint can make vivid statements that evoke powerful emotions.
So don’t be afraid to experiment! Have fun and explore the effects that color can bring to your work. With a bit of practice, you will find yourself unlocking incredible potential in your art as you become increasingly familiar with its many creative possibilities.
Saving and Sharing
When you are finished drawing on Canva, you want to make sure that you save it in the right format and share it with the right people. Saving and sharing your work on Canva can be done quickly and easily. In this section, we will discuss how to save and share your Canva drawings.
Save your work to the cloud
Using Canva in your business provides the extra benefit of being able to save and share your work easily. The service works with all kinds of devices, including desktop and laptop computers, tablets, and smartphones.
When you sign up with Canva, you can access the service from any device at any time. Your designs will automatically be stored in the cloud. That means no more emailing files between yourself and whoever is working on them with you, but it also means that you have peace of mind knowing that your work is always secure and easy to access from any device.
Your design will have a designated “home” within Canva that you can easily find again later; simply click on “My Work” when logging in to be presented with all the pieces of artwork that have been created and saved for easier retrieval later.
Canva also has a range of sharing features so that multiple people can work on a project at the same time—especially useful for situations such as businesses who wish to collaborate across different teams around the world! For this type of collaboration, Canva makes it easy by experts on specific projects throughout the same drawing workspace. Invitations are sent out to team members via email links which are activated when they click on them – providing an extremely efficient workflow compared to traditional methods of collaboration (like file transfers).
Share your work with others
Once you have completed your design, you can easily share your work with others. Canva allows you to export it as an image, upload to Dropbox or send it directly in an email. You can also send the design to friends by simply sharing a link generated by Canva.
If you want to save your Canva design for later use, there are several different formats available for download such as PNG and JPEG. You can also save designs in Canva’s cloud-based library so that they are always accessible from any device at any time. Finally, you can export your graphic as a PDF file which is useful for printing projects or distribution online.
No matter how you choose to share your design, Canva makes it easy to download and distribute within minutes!
Advanced Techniques
Canva is a great tool for creating images and artwork for webpages, blogs, and other digital platforms. However, it can be easy to be overwhelmed by all the features and tools it offers. Fortunately, with the right techniques, you can quickly start creating high-quality visuals with ease. In this section, we will explore some of the advanced techniques for drawing on Canva and how to maximize your results.
Understand the grid system
The grid system is a way of organizing your canvas and elements in an organized fashion that makes it easier to create accurate drawings and designs. The underlying framework of a Canva drawing is the grid system. When activated, the grid produces evenly spaced lines in both direction that mark off individual blocks. These blocks can be used as points of reference when creating visible shapes and events as well as helping to draw straight lines and create balanced design layouts.
Understanding the grid system and how it applies to drawing in Canva is an important first step for creating good digital drawings. Knowing how to work with a given canvas size, spacing elements correctly, how objects are positioned on even or odd grids etc., are all tools that will make your work look more polished, professional and visually appealing. When using the grid tool in Canva it’s important to note that things can become tricky if you break from standard sizes or curves once you begin drawing too regularly or randomly on an unstructured canvas that has no underlying organization scheme to follow. As such, start by getting familiar with different types of grids such as rectangular, hexagonal etc., then use them as a reference point before you begin any actual designing.
Learn how to use layers
Layers are one of the core concepts of Canva. Much like real-life items, your drawings also have layers in Canva.
When you add elements to a drawing, the element below is known as the background layer. You can think of the background layer as the paper you are drawing on. Any new element that you add or edit after that will be placed on an additional layer over the background layer. For instance, if you add a shape onto a drawing, it will be added to its own individual layer – allowing you to move it around without affecting other objects in your draw/design.
Once something is in its own layer, there are a few things you can do like: change color, apply effects and duplicate content by using simple taps or clicks depending on what type device you’re using (desktop/mobile). Individual layers can also be moved back and pop up above all other elements – this allows you to quickly modify any single element without having to worry about overlapping any other object when doing so.
Layers help make editing and working with digital drawings easy and intuitive compared to traditional methods like pencil or brush style drawings. With layers, editing different elements becomes efficient and straightforward for both beginners who may have never used a drawing software before as well as experienced users looking for more advanced techniques!
Create custom shapes and patterns
There are a variety of ways to create custom shapes and patterns in Canva. With the tools and features available, you can quickly create various designs with ease. Here are some advanced techniques that you can use to add special effects and make your drawings stand out.
Manipulating objects: By using the object selection tool, you can rotate, scale, duplicate, or delete objects on your canvas. You can also adjust their position and size by dragging around their edges or using the Transform Dialogue Box dialog for more precise control.
Creating custom paths: With Canva’s pen tool and line tool, you can draw smooth paths that curve around any shape on the canvas. The Stroke Palette enables you to adjust the color and thickness of your lines to give them a unique look.
Creating Vector Shapes: The Vector Shapes tool lets you create polygons, stars, spirals, lightning bolts, and other simple shapes by simply adjusting a few settings in the Shape Options panel. You can also combine these shapes into complex patterns with the Object Arrangement tools.
Combining Objects: You can mix multiple objects together to create custom artwork on Canva by merging individual sections or adding effects like shadows and reflections to give them depth or dimensionality. The Eraser Tool is perfect for ‘erasing’ parts of Paths while leaving others untouched so they remain intact as one cohesive shape.
These are just some tips on how to use advanced techniques in CanvaDrawing – with a little bit of creativity and imagination, there’s no limit when it comes to creating unique illustrations!
More Stories
FutureTechGirls.com: 7 Kickass Tips To Level Up Your Tech Career In 2026
FutureTechGirls: 7 Kickass Tips To Launch Your Tech Journey In 2026
Kickass Tips For FutureTechGirls: Launch Your Tech Journey In 2026