
Are you ready to get spooky this Halloween season? If so, why not try your hand at carving pumpkins in The Sims 4! Not only is this a fun activity that everyone can enjoy, but it’s also an easy way to get creative and make your Sim’s house look extra festive.
In this blog post, we’ll be walking you through the basics of carving pumpkins in The Sims 4. So grab your carving knife and get started!
Introduction
Carving pumpkins in the Sims 4 is a fun and spooky way to celebrate the Halloween season. Carving pumpkins can also be done with your sims to create a unique and personalized decoration for your home.
The process of carving pumpkins requires no additional items, but it’s important to know the basics before you get started. This guide will help you understand how to carve pumpkins in the Sims 4, so that everyone in your household can join in on the festive seasonal activities!
How to carve pumpkins sims 4
Carving a pumpkin in Sims 4 can be quite a tedious process, but the end result is definitely worth the effort! Before you start carving, it is important to choose a pumpkin that’s large enough for your desired design. Once you’ve chosen your pumpkin, you’re ready to begin carving.
Using the tools available for Sim’s 4, select a pattern either from the library or design one yourself. Using the “Trace” tool carefully trace and outline the pattern on your chosen pumpkin. This will help guide your knife when you start cutting and make sure that all of your details are exact.
Once your pattern has been outlined you can use either an “Exacto-Knife” or an appropriate in-game tool to proceed with carving out individual pieces of the design. Be patient and take your time as this process requires precise movements to ensure accuracy and quality. Remember to carve away from yourself; this not only prevents accidents but also ensures that each piece is cut free from any other component of the design.
Once complete, remove any remaining pieces of skin with a finger or appropriate in-game tool before carefully adding any additional details or embellishments such as lighting or glow stones to complete your creation!
Tools
Carving a pumpkin in Sims 4 is an easy and fun activity that anyone can do! With the right supplies, this classic Halloween tradition can be enjoyed even more when done in the game. Before you start, it is important to make sure you have all the necessary items – a pumpkin and several carving tools.
For the pumpkin, you will need one from either your local grocery store or Growfruit stall in Buy Mode. If nothing else is available, clicking on a wild pumpkin in the garden will also turn it into a harvestable item for you. Once harvested or acquired, the pumpkin must be placed inside any available lot or residential space before it can be carved.
For carving tools, cheats can be used to access items from Build Mode such as craft scissors and clay sculptures, but there are other crafting tools like mechanical knives which are not so easily accessible. The latter must be purchased from either Buy Debug → Parties & Holidays → Pumpkin Carving Party Pack or Dr. F`ur’s Macabre Emporium found within CAS parts bin. With these objects in your possession, it’s time to start carving!
Preparing the Pumpkin
Before you can start carving, have your supplies ready:
- a sturdy knife
- a spoon
- an ice cream scoop or melon baller
- newspaper
- a few cups of warm soapy water
Using the knife or an ice cream scoop/melon baller, remove the top portion of the pumpkin by cutting or scooping out a circle in the pumpkin that is at least 4-6 inches across. Make sure that adults provide assistance and supervise closely when necessary!
Using the spoon (or an electric drill bit) carefully remove all of the pulp and seeds from inside the pumpkin’s cavity. Be sure to save these seeds as they can be used for planting or roasting later on. Place all removed items in a bowl and cover with warm, soapy water to rinse off any excess pumpkin goo for about 5 minutes before discarding them. Wipe down both sides of your work surface with soap and warm water before beginning your carving project.
Painting or Coloring the Pumpkin
Once you have finished carving your pumpkin in The Sims 4, you may choose to take its decoration one step further. Painting or coloring your pumpkin will allow you to express your creative side and make it stand out from the rest! To paint or color the pumpkin, follow these simple steps:
- Place your painted or colored pumpkin on a blank part of the terrain.
- Select the “Paint” interaction from the “Create” tab menu on the lower right-hand side of your screen when near the pumpkin with a Sim.
- Select any variety of colors and brushes from within the color wheel in order to start painting and crafting.
- When finished, your painted or colored pumpkin(s) is ready for display!
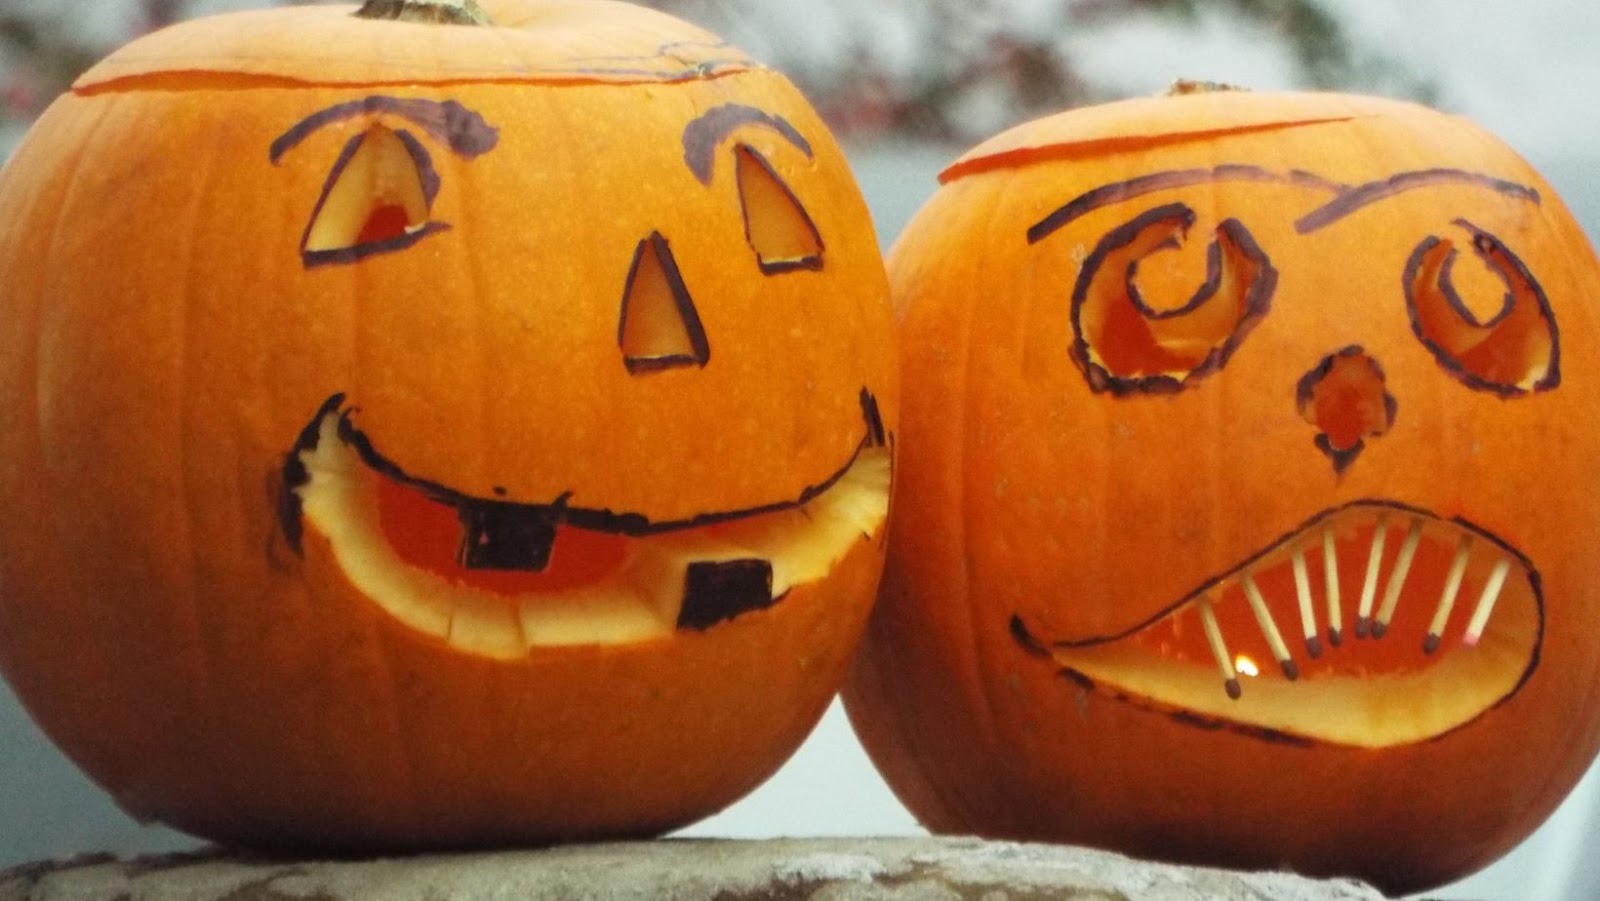
Creating a Design
Creating a spooky, clever or funny design is half of the fun when it comes to carving pumpkins in The Sims 4! Before you start, determine your design. You can look around for inspiration, or come up with one that’s unique to your Sim. Consider asking other Sims for their opinions too—bouncing off of others will help fuel creative ideas.
A great way to make sure that your Sim’s design aligns perfectly with their vision is by sketching it out first! Use stationary, wax paper or tracing paper to map out exactly how you want the design to look on the pumpkin. Wax paper also helps with clean up since pumpkin guts won’t stick to it and tracing paper allows for more intricate designs.
Additionally you could use different colored markers so that you can decide which areas of your pumpkin should be different colors when lit up. This will help you arrange the design so that all aspects are visible and further enhance your spooky masterpiece! When you have the perfect pattern drawn—it’s time to get ready for…CARVING!
Finishing Touches
Once you have created your desired look, add the finishing touches to make your pumpkin even more special. You can sprinkle glitter or small decorative items on top to create a sparkly effect. Consider placing a small light glowing candle in the center of the pumpkin to make it look like it is lit up from within.
If you are feeling adventurous, try carving a switch into the side of the pumpkin and installing some LEDs for a unique and technology-savvy decoration. Have fun with it, and get creative!
More Stories
FutureTechGirls: How Gaming Rocks The Path To Tech Leadership In 2026
Gaming Rocks: How FutureTechGirls Are Shaping The Next Decade Of Play (2026 Roadmap)
Gaming Rock: How FutureTechGirls Are Shaping Tomorrow’s Play In 2026