Are you struggling to find out how you can check your PS4 controller battery? Don’t worry, we have the perfect solution for you – just read on and we’ll reveal all our secrets! By the end of this blog, you’ll be able to easily check the battery percentage of your PS4 controller and keep gaming until your heart is content!
- Check your PS4 controller battery
- Read on to learn the secrets
- Check the battery percentage of your PS4 controller
- Keep gaming until your heart is content!
Introduction
If you’re playing your favorite game on PlayStation 4 and need to check your controller’s battery life, there are several ways to do it. The most reliable way is to look at the information displayed on the LCD screen, which will tell you the status of the controller’s battery life.
You can also check your DualShock 4 controller’s charge level from within Settings> Devices directly from your PS4 console. Additionally, you can check the remaining battery life from a PC or Mac with either Sony’s Remote Play desktop application or a dedicated app.
- To check the battery life on an LCD screen:
- To check the charge level from Settings> Devices:
- To check the remaining battery life from a PC or Mac:
Following these steps will ensure that your DualShock 4 controller will never run out of juice unexpectedly!
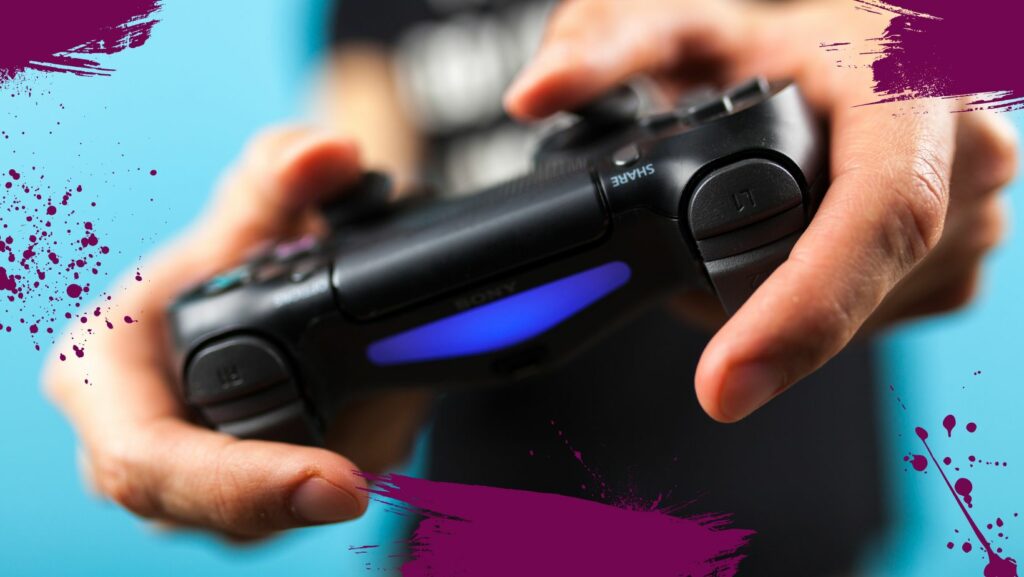
What is a PS4 Controller?
The PlayStation 4 (PS4) controller is the central device for interacting with Sony’s next-generation game console. It features a number of improvements over the earlier generations’ controllers, such as improved analog sticks, light bar, and touchpad. The latest DualShock 4 controller includes six axes and 19 buttons, which can be used to control games through movement (such as running or jumping in sports titles) or button inputs (such as punches or kicks in fighting games). Additionally, the DualShock 4 includes a 3.5mm jack for headphones and an integrated microphone for voice chat. Since its release in 2013, it has been one of the most popular gaming controllers on the market.
In order to check your PS4 controller’s battery life, you will need to open up your controller settings menu on your PS4 console. On the settings tab, you should see an icon labeled ‘Devices’. Selecting this will bring up a list of connected devices; select ‘Controllers’ to view all available controllers on your system. Once all connected controllers appear in the list, you will be able to see each individual device’s battery level displayed as a percentage next to it:
- Controller 1: %XX
- Controller 2: %XX
- Controller 3: %XX
- Controller 4: %XX
Reasons for Checking the Battery
Before you can use your PS4 controller to play video games, it is important to check the battery life to ensure it has enough power left in it. There are a few different reasons why you should check your PS4 controller’s battery level.
- If you haven’t been using the controller in awhile, then there is a chance the battery will be drained. It’s also important to check the battery life of a controller before playing with friends or family. During long gaming sessions, it’s easy for batteries to drain quickly and having spare batteries or controllers available can help avoid disruption of fun time with loved ones.
- In order to update or calibrate the motion sensing technology, including gyroscope and accelerometer calibration of your PS4 controller, you need to have at least 10% charge left on the battery — otherwise, you won’t be able to make those changes.
- Should any repairs need to be made with the hardware within a PS4 controller, such as disconnecting and reconnecting components inside its housing (e.g., shoulder triggers), having a full charge will allow any calibrations needed as part of that process more accurate as low-battery controllers may not properly adjust settings when calibrated.
How to check ps4 controller battery
Checking the battery level of your PS4 controller can be done in two different ways, each with their own advantages. The first way is to look at the light bar on the controller itself; if the light bar turns off or fades away, it’s time to charge up your controller. It can be helpful to turn off or mute the sound on your TV so that you can better concentrate on the light bar.
The second way is to check within the system settings of your PS4. To do this, go to Settings > Devices > Controllers and then select an individual controller listed under “Registered Controllers” at the left-hand side. Underneath each registered controller you will see a “Battery Level” option that indicates what percentage of charge is remaining in each respective controller.
If either method indicates that your battery is low, simply plug in a USB charging cable into one of your available USB ports on your console and connect it to your PS4 controller. Charging should begin shortly after connecting and playing while connected will not affect charging speed; however, make sure you take regular breaks as improper use of controllers may overheat or damage them permanently.
Charging the Battery

Recharging your Dualshock 4 controller
The Dualshock 4 controller can be recharged while connected to the PS4 system, or with a charging station or USB cable of your own.
- When using the PS4 system, make sure that it’s on and connected to your TV. If the controller is not connected, it will need to be paired via a USB cable before recharging will begin. Connect the USB cable directly into a powered USB port on your PS4 – don’t use an external hub – and press the PlayStation button at the center of your controller. The battery charge indicator underneath should turn orange indicating it is charging. It should take approximately two hours for a full charge.
- If you don’t have access to a PS4, you can still charge your wireless controller with any standard micro-USB cable you may already have around. Plug one end into any powered USB port – like those found on computer monitors or TVs – and the other end into your Dualshock 4 controller until its battery indicator starts blinking orange. The same charge time applies here too: just two hours for a full recharge!
Troubleshooting Tips
Sometimes it can be difficult to determine how much time you have left before your Playstation 4 controller runs out of battery power. If the controller light is blinking, the battery is below 10% and should be charged immediately. Additionally, the controller charge level will drop quicker if you are playing a graphically intensive game or using wireless headphones simultaneously.
Thankfully, there are a few troubleshooting steps you can take to verify your PS4 controller battery level:
- Press the “Options” button on your controller with the “Share” button at the same time. This will open up a new menu where you can check your battery life status and make sure it’s in working order before you lose power mid-game session.
- Simultaneously press and hold both the “Share” button and “Playstation” button to display a control bar at the bottom of your screen – check the percentage next to “Power” in this control bar for an accurate estimate on how much charge is left in your controller.
- Purchase and use Sony’s official “DualShock 4 USB Wireless Adaptor“. This specialized device provides an extended range connection between your PS4 console and controller with low latency, so that no information is lost as power drains away. The adaptor also allows users to manually check their controllers’ current battery level without having to enable pairing mode every time they want to double check their charge status!
Conclusion
In conclusion, checking your PS4 controller battery is a relatively simple process. Most of the methods outlined above will provide you with an accurate reading of your controller’s current charge state.
If you have a first-generation DualShock 4 controller, you can quickly check the battery level simply by pressing and holding the PlayStation Button for a few seconds, which will display a quick pop-up showing how much charge it currently has.
Additionally, you can find out your exact battery levels for both types of controllers by connecting them to your PS4 or PC and accessing the system settings or Steam Big Picture mode. Doing so will enable you to view detailed information about the device’s current power levels.
Finally, if all else fails, purchasing an inexpensive USB charger should be sufficient to get you up and running again in no time at all.
More Stories
FutureTechGirls: How Gaming Rocks The Path To Tech Leadership In 2026
Gaming Rocks: How FutureTechGirls Are Shaping The Next Decade Of Play (2026 Roadmap)
Gaming Rock: How FutureTechGirls Are Shaping Tomorrow’s Play In 2026